Installation
Requirements
HurryTimer works with WordPress version 4.0 or greater, and PHP version 5.4 or greater.
Installing HurryTimer Free
In your WordPress admin area, follow the steps below to install HurryTimer Free plugin:
- Navigate to Plugins > Installed Plugins
- In the search field, enter HurryTimer keyword, and Choose HurryTimer – An Scarcity and Urgency Countdown Timer for WordPress & WooCommerce, then click “Install Plugin”
- Activate the plugin
Installing HurryTimer Pro
Don’t have the HurryTimer Pro license yet? Click here to get started today.
After purchasing a license, the next step is to install the plugin and start creating your campaign.
In this step by step guide, you will learn how to install the HurryTimer Pro on your WordPress site.
Before installing HurryTimer Pro, make sure to deactivate the free version if it’s already installed.
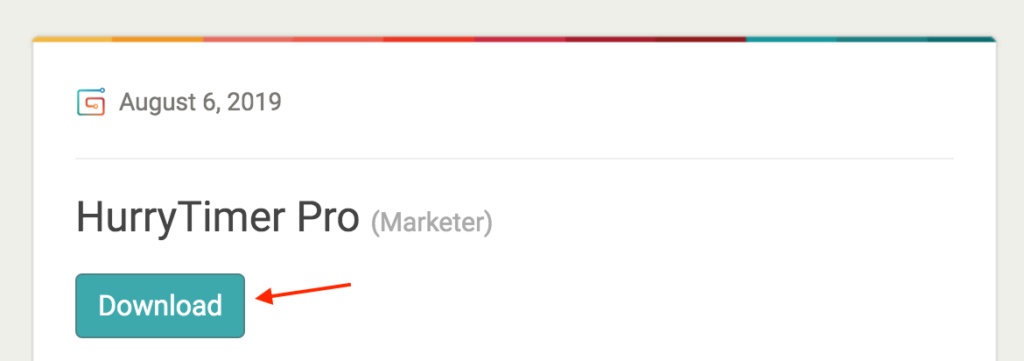
To get started, download the zipped file you received in your inbox after purchase and save it to your computer.
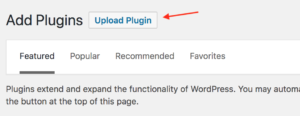
Next, in your WordPress admin area, navigate to Plugins > Add New.
Then, click on “Upload Plugin”:
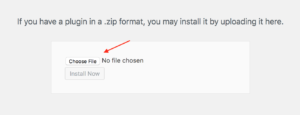
Choose the zipped file, and click on “Install Now”:
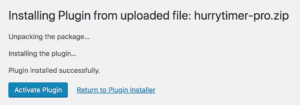
Finally, click on “Activate the plugin”:
Activating HurryTimer Pro license key
To receive regular updates for HurryTimer Pro, you must activate your license:
- Copy the license key you received in your inbox after purchase.
- In your WordPress admin area, navigate to Plugins > Installed Plugins, search for HurryTimer Pro.
- Paste the license key, and click on “Activate”:

Congrats! your license is fully activated and you will receive regular updates like any other plugin.